Darrell Patton’s Grocery Getter
- Updated: July 7, 2014
By Darrell Patton
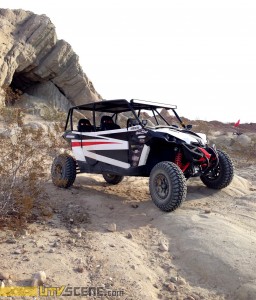 It seems like every time you turn around there is a new UTV being released. Whether it’s more cubic centimeters, more wheel travel or the latest craze a four-seater. It’s easy to see the today’s Side-by-Side is no longer considered a piece of farm equipment, on the contrary, it’s more of a hi performance machine – capable of allowing multiple people to share in the excitement of off road adventures.
In stock form a four-seater UTV does get the job done, but I just had to make mine perform better than stock, and figured I would show you guys the specifics of my build.
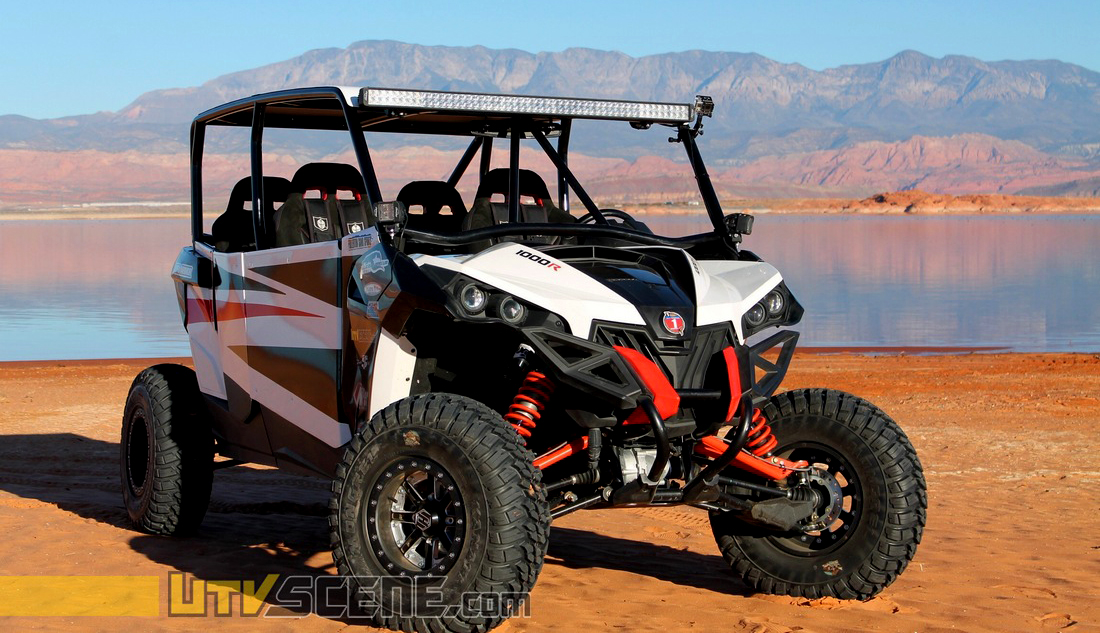
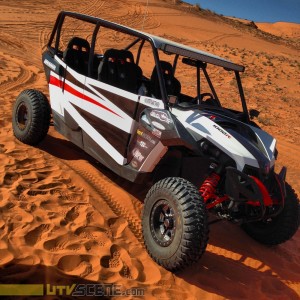 I set out to build the ultimate four-seater side-by-side so my family and friends could go with me and go in style! I started my search for the ultimate machine at Chaparral Motorsports because they have every machine under one roof so I could easily compare all my options in one place. It was down to three choices, the Polaris RZR XP 1000, Arctic Cat Wildcat and the Can-Am Maverick max XRS. I decided to build on the Can-Am platform because I felt that you get more bang for you buck with the Maverick. It starts with the fit and finish of the Can-Am. From the first time you sit in the Maverick you can tell it is a very well-built machine. The interior of the XRS model comes with a full instrument cluster mounted right in front of the steering wheel where it’s easy for the driver to see. It also comes with a 3-stage adjustable power steering system and an upgraded suspension with fully adjustable Fox 2.5 shocks and a set of beadlock wheels. That’s a bunch of expensive and very much needed components that really helped me to decide to take the Maverick home with me and begin making it the ultimate west coast grocery getter.
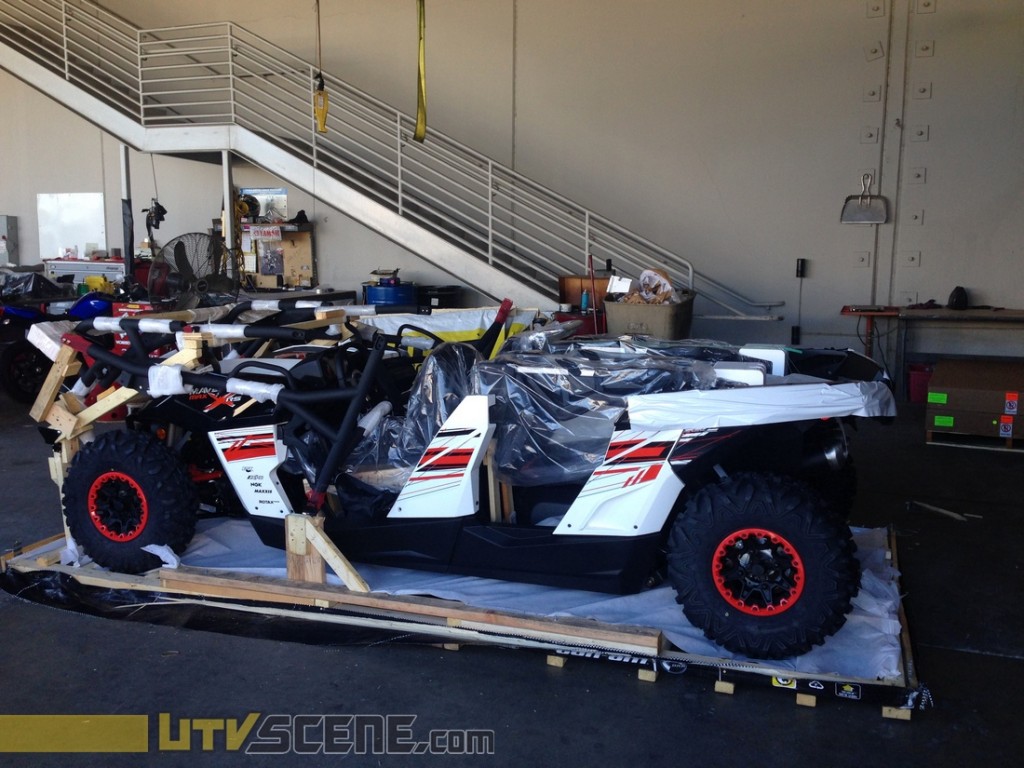
I think a lot of the reason my project came out so well is because I started with a brand new machine that I didn’t ride much before hand.
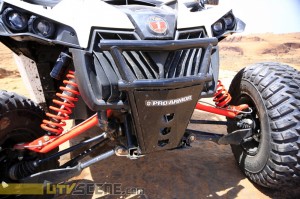 I took the Maverick max out for a shake down in stock form and I have to say I was impressed and felt like I did indeed make the right choice. Right out of the box the Maverick max performed very well, but I was about to take it to another level.
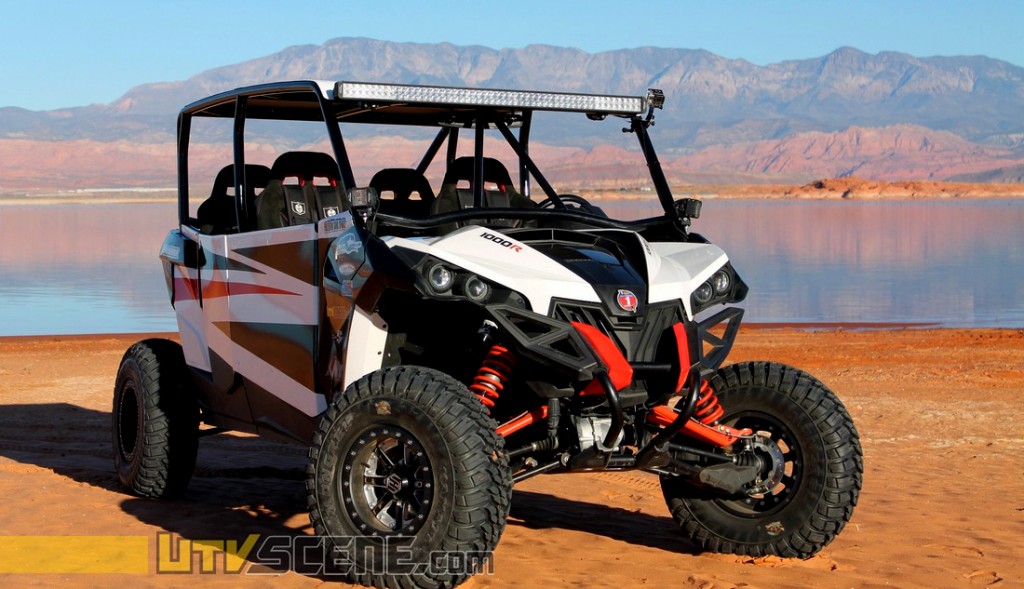
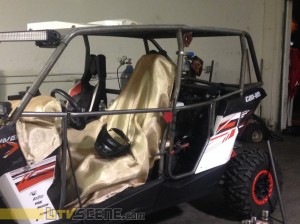 The first thing I decided to do was have a custom cage and doors built for it. I did a lot of research and decided to go to IMG Motorsports in Elsinore CA. The guys at IMG have been building SxS projects since 2007. IMG worked with me and my needs as I had to keep the overall height down so it would still fit in my toy-hauler. While the Maverick was at the IMG facility, I got to work on collecting all the parts I would need so there was as few delays as possible. I called the guys at Twisted Stitch seats and ordered four new seats. Next was a call to my long time friends at Pro Armor, where I ordered a set of their 5-point harnesses to help keep my family safe.
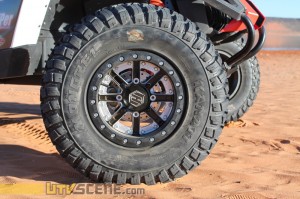
I feel I went with the ultimate wheel and tire choice; dual beadlock HiPer Wheels bolted to a set of 30″ GBC Mongrels.
To help give the Can-Am a little more grunt, the first thing I did was talk with with Adam at AIRDAM Clutches to see what kind of CVT issues I might get into if I started tweaking the engine. With Adam’s clutching suggestions, I chose to let the machine breath better and bolted on a Yoshimura stainless exhaust system. Besides the added performance the machine now sounds like a beast. I love it. To help get some of this added new power to the ground I went with a set of HiPer wheels and 30″ GBC Mongrels.
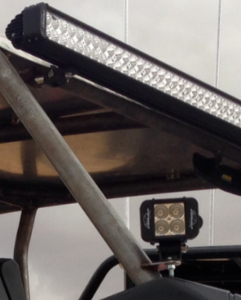
Here is the 52″ Laserstar Endeavour Light Bar along with one of two Endeavour Flood LEDs, which are used to light up each side of the vehicle.
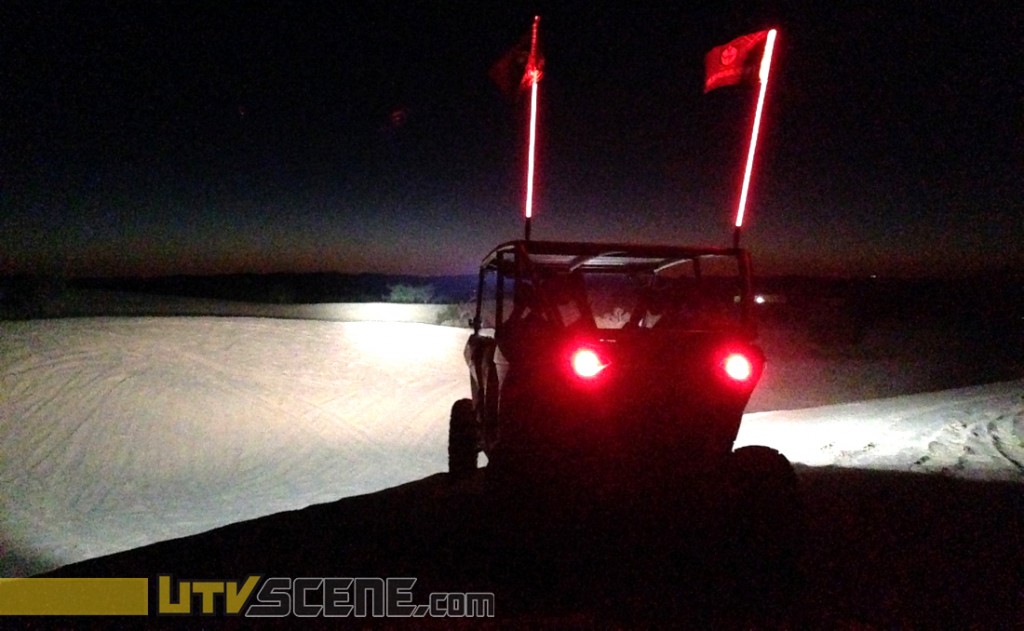
My family enjoys going for rides at night so i got with the guys at Lazerstar to help dial light up the night sky, and boy did they deliver. The photo below doesn’t do the new lighting system justice. It’s amazing how well the lights work. You can’t go wrong with whichever light bar you selects, in my case I went with a total of three of their light units; their big 52″ Endeavour 3 Watt LED light bar, a white 3″ FlexLED Accent Strip Light and a pair of Endeavour 3 Watt LED Floods
After figuring out what parts were needed to make this my new Can-Am the ultimate family grocery getter, I met up with the guys at Inland ATV to help me put it all together so it looked and worked the best it could. Inland ATV has been around for a long time and their machines speak for themselves. They pay attention to detail better than most, and my machine was no exception to this rule. When they were done, it looked and worked better than I imagined.
Check out the photos, I think you’ll agree we really upgraded an already fantastic machine. The best part is I didn’t breaking the bank. You can spend a lot of money hopping up a machine, I didn’t get too carried away. The Maverick looks better than I pictured it in my head. The IMG Motorsports’ cage and doors along with twisted stitch seats and Pro Armor seat belts make the machine look far from stock.
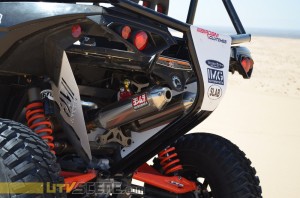
Here’s a good look from behind. Check out the detail on the IMG cage that protects the premier Yoshimura stainless steel exhaust system.
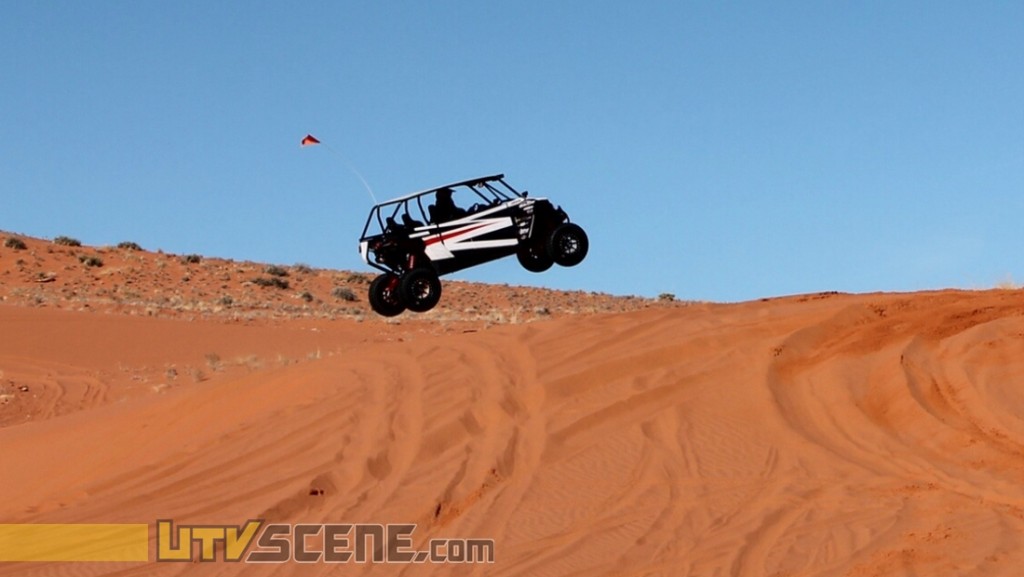
The STM clutch from Airdam Clutches assures that we wont be stranded out in the dunes even though the big v-twin with my new Yosh exhaust puts out more power than a stock machine. Speaking of good piece of mind, the dual beadlock Hi-Per wheels and GBC Mongrels aren’t going to leave me with a flat tire when I’m far from camp.
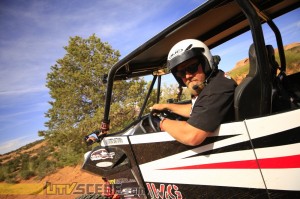 I’m all about spending fun times with the family not figuring out how to get back to camp so we can all go home without enjoying the adventure. No thank you to that! This tire and wheel set up is the best in the business if you ask me. It keeps me moving forward with tons of traction and like I said a great piece of mind that I wont have tire issues. And with the Laserstar lights we’re not confined at all. Our adventures far outlast daylight, and night rides couldn’t be better. When I switch on my Lazerstar lights visibility is outstanding! And lastly the guys at Inland ATV did a excellent job of bringing the whole thing together. They assembled my Maverick max as if it were racing the Baja. I like that kind of attention to detail, especially when my family is going to be in the vehicle.
